Still, it doesn't have to be Christmas to prepare a treat for your geocaching friends!
I made them for our "mulled wine event" held at Rostock's Christmas Market on December 12.
 Actually, you can use your favorite cookie receipe; any receipe that is good for cutting cookies. So the cookie dough is the easy part ;)
When you're ready, roll out the dough with a rolling pin (or a glass bottle, if you don't have a rolling pin. I don't have one and an empty wine bottle works just as well!).
 I came up with 3 different shapes for my geocaching cookies: A "micro cache" film canister, a GPS device, and the geocaching.com logo.
 For the micro cache and the GPS device I cut their shapes from cardboard and used a knife to cut the dough into shape.
 While starting to cut the micro cache cookies, I found there's an easier way: Use a (juice / water / wine) glass to cut circles, then use a knife to cut the circle into 3 parts, the middle one being the micro cache cookie.
The little GPS devices are hand-cut, sorry. But it's not too much work, really.
 What's really easy, is cutting squares for the geocaching.com logos. Just cut the size you want them to be.
Here they are - ready to go into the oven! See the little witches on the right?
 Unfortunately their brooms broke off and they didn't look too nice with their chocolate cover, but they were quite tasty anyway ;)
When you're done, bake your cookies according to receipe and let them cool off.

Next comes the fun part: decoration!
I dipped the little GPS antennas into melted chocolate and let them dry before continuing with the names on them. I also dipped the micro cache cookies into the chocolate to make it look like the lid. And guess what: the micro cache cookies are done!
I used Schwartau Zuckerschrift to write the names of the geocachers onto the little GPS cookies according to their "will attend" logs in the cache listing.
I decided to make one cookie per team plus a few "Cacher" cookies for those who would attend without "will attend" log.
 For the geocaching logos I used Back- und Speisefarben to dye the frosting. I only made one color frosting at a time starting with yellow (so I could reuse the rest for the red rosting). It was fairly easy to put the frosting on the cookies using a simple teaspoon. Just make sure it is not too runny - use more powdered sugar if it is. After the yellow frosting I made the red one as the fields are opposite each other on the logo and I didn't have to worry about the frostings running into each other. While I let them dry I continued with writing names to my little GPS cookies. Blue and green were easy to do, too. When everything was dry I used the rest of the chocolate to make the circles symbolizing the details on the logo.
The cookies were a big success at our geocaching event. People marveled at the effort and were delighted with finding their names on the GPS cookies. Plus they were a nice treat to enjoy along with the mulled wine :)
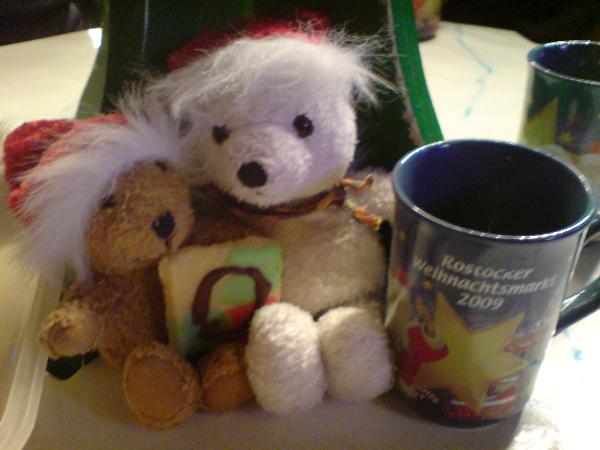 (c) TeddyOnTour
What do you think? Wanna give it a try?

Keine Kommentare:
Kommentar veröffentlichen